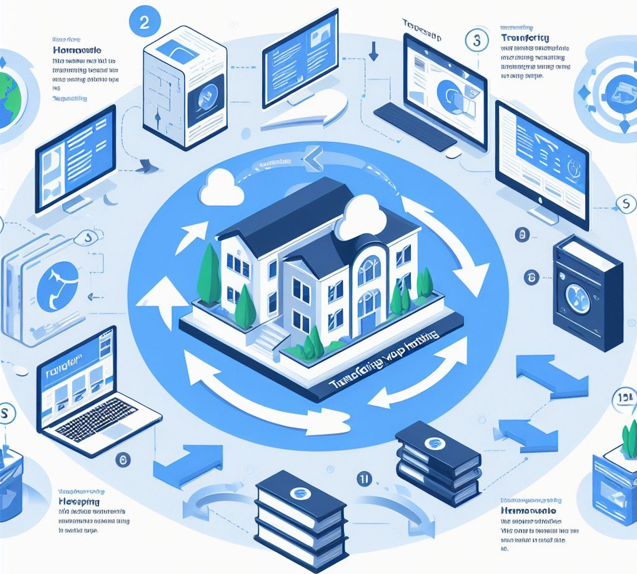
How to Transfer Website Hosting
Moving your website to a new hosting provider can be a smooth process if you follow the right steps.
This guide will walk you through everything you need to do to transfer your website hosting with minimal downtime.
WhyTransfer Your Website Hosting?
There are several reasons why you might want to transfer your website hosting.
Here are a few of the most common:
- Better pricing: You may be able to find a more affordable hosting plan with another provider.
Improved performance: Your current host may be experiencing slow loading times or downtime. - More features: You may need more features than your current host offers, such as increased storage space or bandwidth.
- Better customer support: You may be unhappy with the level of customer support you’re receiving from your current host.
1. Choosing a New Hosting Provider
After deciding to switch your website hosting, the initial move is to select a new hosting service.
Consider the following aspects:
- Cost: Is the hosting plan affordable within your financial plan?
- Functionality: Are the necessary features such as ample storage, sufficient bandwidth, and database support included in the plan?
- Reliability: Does the hosting service provide a commitment to consistent uptime?
- Support: Is round-the-clock customer assistance available from the provider?
- Protection: Are there security measures in place, like regular malware scans and data backup options?
2. Backing Up Your Website
Before initiating the migration of your website, it’s essential to back up all your website’s data and database comprehensively.
This step is vital to safeguard a version of your site should any issues arise during the move.
Typically, hosting services include backup utilities in their control panel for this purpose.
3. Uploading Your Website Files and Database to Your New Host
After selecting a new hosting service, the next step is to transfer your website’s files and database to the new account.
You will receive guidance from your new hosting provider on how to proceed with this process.
4. Updating Your Domain Name’s Nameservers
To ensure your website is reachable online, it’s necessary to redirect your domain name to your new host’s servers.
This is achieved by modifying the nameservers associated with your domain name.
You’ll receive step-by-step directions from your domain registrar on how to make these changes.
Be aware that the update process may require up to 24 hours to fully take effect.
6. Testing Your Website on the New Server
After transferring your website’s files and database to the new server and updating the nameservers, it’s crucial to conduct a thorough test of the site on the new server.
Confirm that all functionalities are operating correctly before officially launching your website on the new server.
Conclusion
Transferring your website hosting can be a straightforward process with the right preparation.
By following these steps, you can successfully transfer your website hosting with minimal downtime and ensure your website remains online and accessible to your visitors.
READ ALSO:
- Why Use Bluehost Compared to the WordPress Website? A Comparative Analysis
- How to Host a Crossplay Minecraft Server- It is Super Simple!
- How to Host A Website on Synology NAS in 7 Easy Steps
- Craft Your World: How to Host a Forge Minecraft Server
- How to Set up and Host a Fabric Minecraft Server in 5 Easy Steps